What is Uniswap?
If you are reading this then you’re probably interested in understanding Uniswap and you may have heard of DeFi. Well Uniswap is currently home to some of the most popular DeFi tokens and coins residing in the cryptocurrency world. It has been the launchpad for the likes of yearn.finance (YFI) which exploded onto the DeFi scene going from $32 USD to $11k USD in 1 month.
Today we will examine Uniswap version 1 (V1) a decentralized trading protocol using Ethereum to provide open-source automated liquidity written with Vyper smart contract. Therefore most of the DeFi tokens are ERC-20 tokens which SafePal wallet fully supports. Uniswap was launched in November 2018 and has become Ethereum’s most popular AMM (Automated market maker) exchange. As a decentralized exchange, it is completely different compared to the centralized exchanges, matter of fact AMM exchanges are also different from order book DEXes as well.
Centralized exchanges take ownership of your crypto assets and place them into their exchange, generally requesting KYC (Know Your Customer) process. Therefore once crypto assets are stored onto these exchanges, they for the most part do not hold themselves liable for hacks and losses. Few exchanges in the industry are 100% safe as most of them have been hacked before and losses incurred are rarely reimbursed. This has led to the rise of decentralized exchanges mainly due to the fact that participants within the cryptocurrency industry still wish to remain anonymous and many decentralized exchanges do not request KYC process.
A decentralized exchange is also prone to hacks and is not completely safe as we have seen many past examples of decentralized exchange hacks. However, in recent years AMM exchanges have become more popular and investors are moving away from order book DEXes.
The prime example has to be Uniswap, which relies on liquidity pools to supply assets to traders based on customized algorithms to determine prices rather than the traditional order book bid and sell options.
Without going into too much technical details, the pricing on Uniswap is determined by Constant Product Market Maker (CPMM) Chain Link Explanation You can read more about this in detail here.
Once you have visited https://uniswap.org/ the first thing to do is click the top right corner and launch the APP. Upon clicking Launch App you will be redirected to the exchange protocol.
Below we will provide images to explain how to SWAP ETH for tokens.
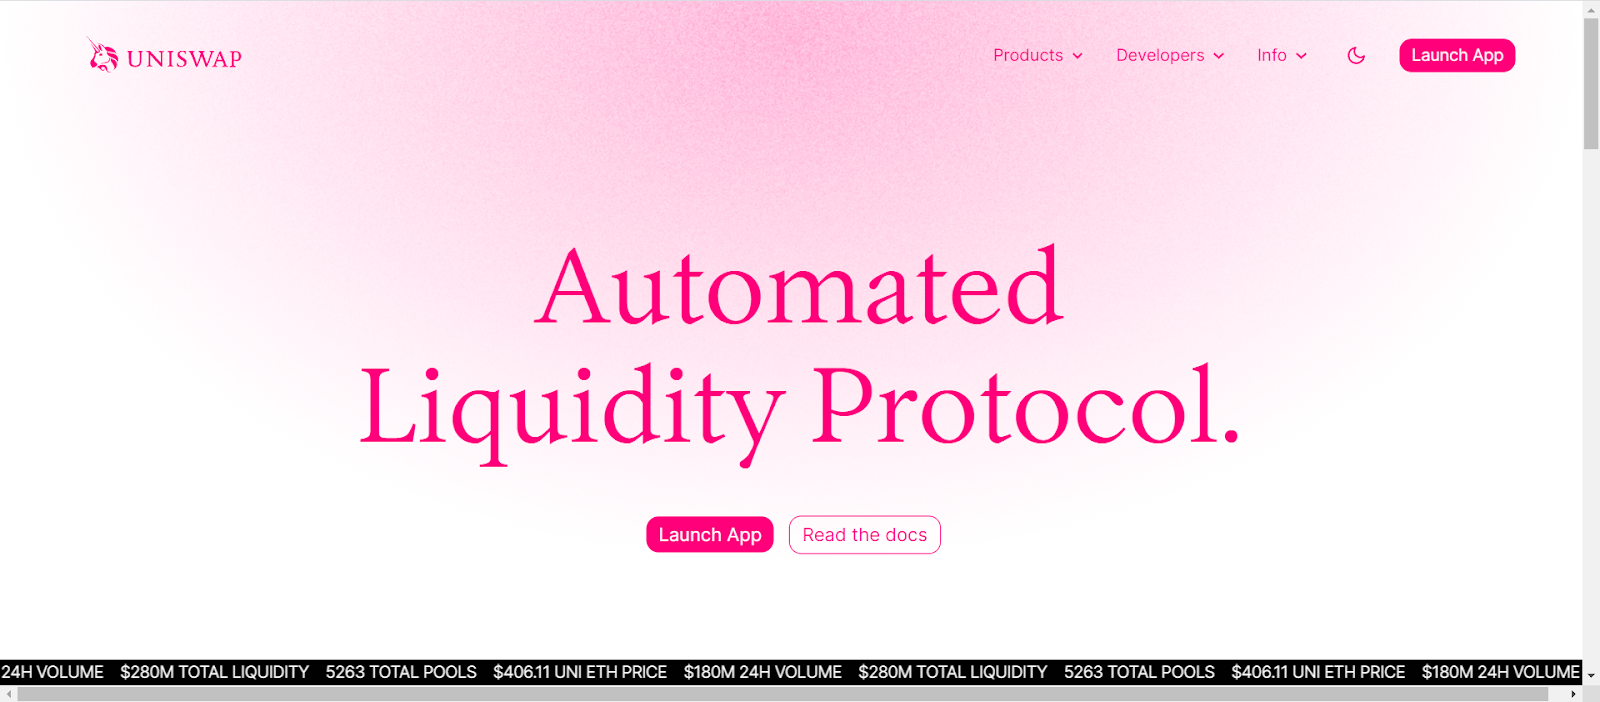
The Main Page
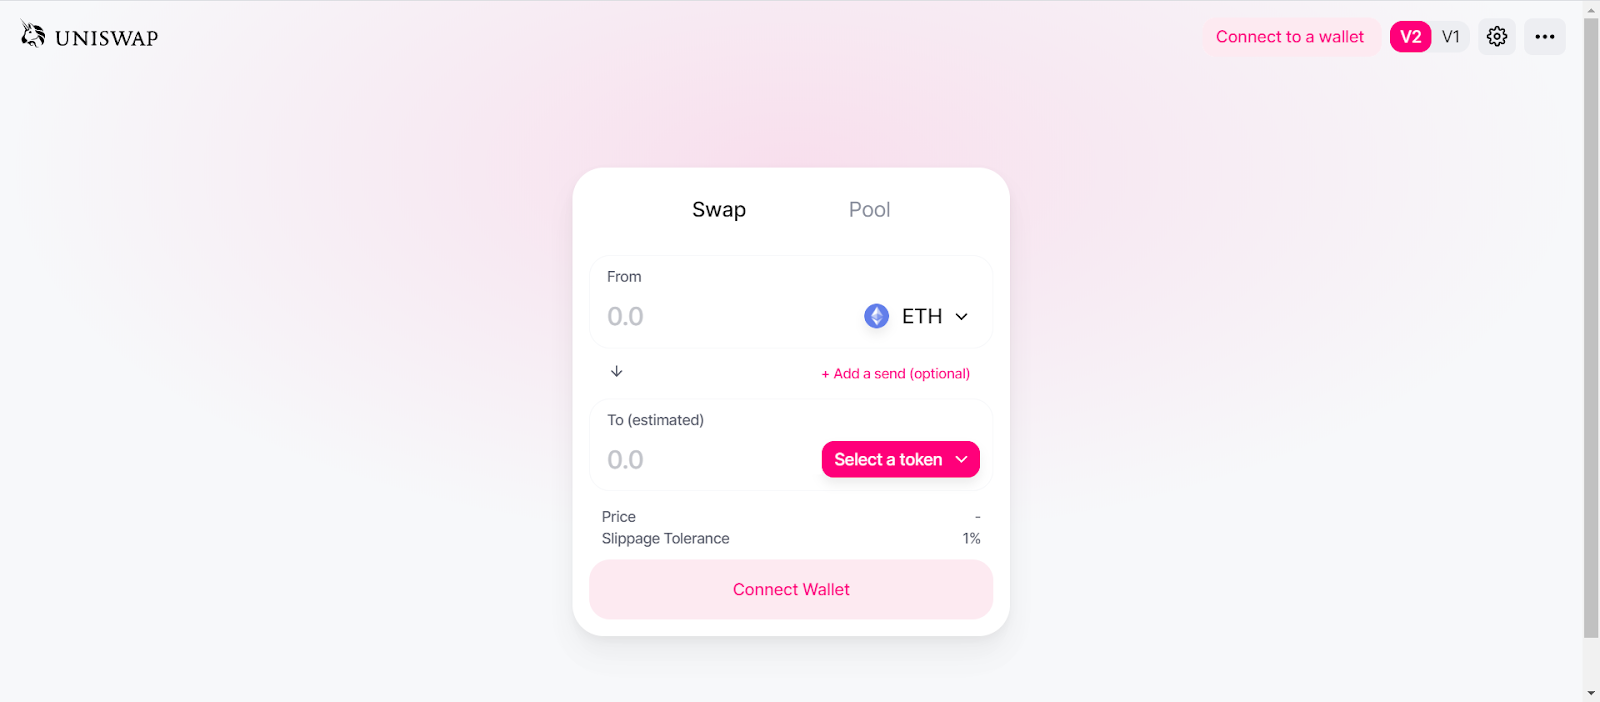
The Trading Protocol Page After Clicking Launch App
Connect a Wallet
Now the next step to do is to Connect Wallet, many of our large accounts, and professional traders that hold large volumes of crypto assets already know that Uniswap is just a market maker. The exchange of crypto assets is between lines of codes written into contracts therefore custody of your crypto assets belongs to no one but yourself. As no 3rd party systems participate to take custody in the middle that is why traders are responsible for their own crypto assets. Many of the users will use a hardware wallet to add an extra layer of protection to ensure that their crypto assets are secure.
Step 1: Connecting to WalletConnect
To connect a wallet to Uniswap, users can click the Connect Wallet button and will be prompted with a selection of wallet options.
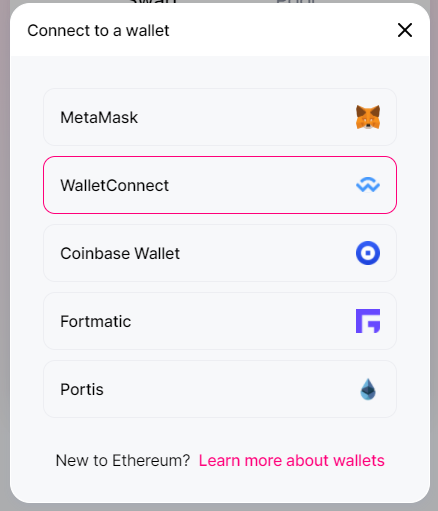
Select WalletConnect and you will then be asked to scan a QR code using the SafePal App, make sure that your SafePal App is on version V2.0.0 and above
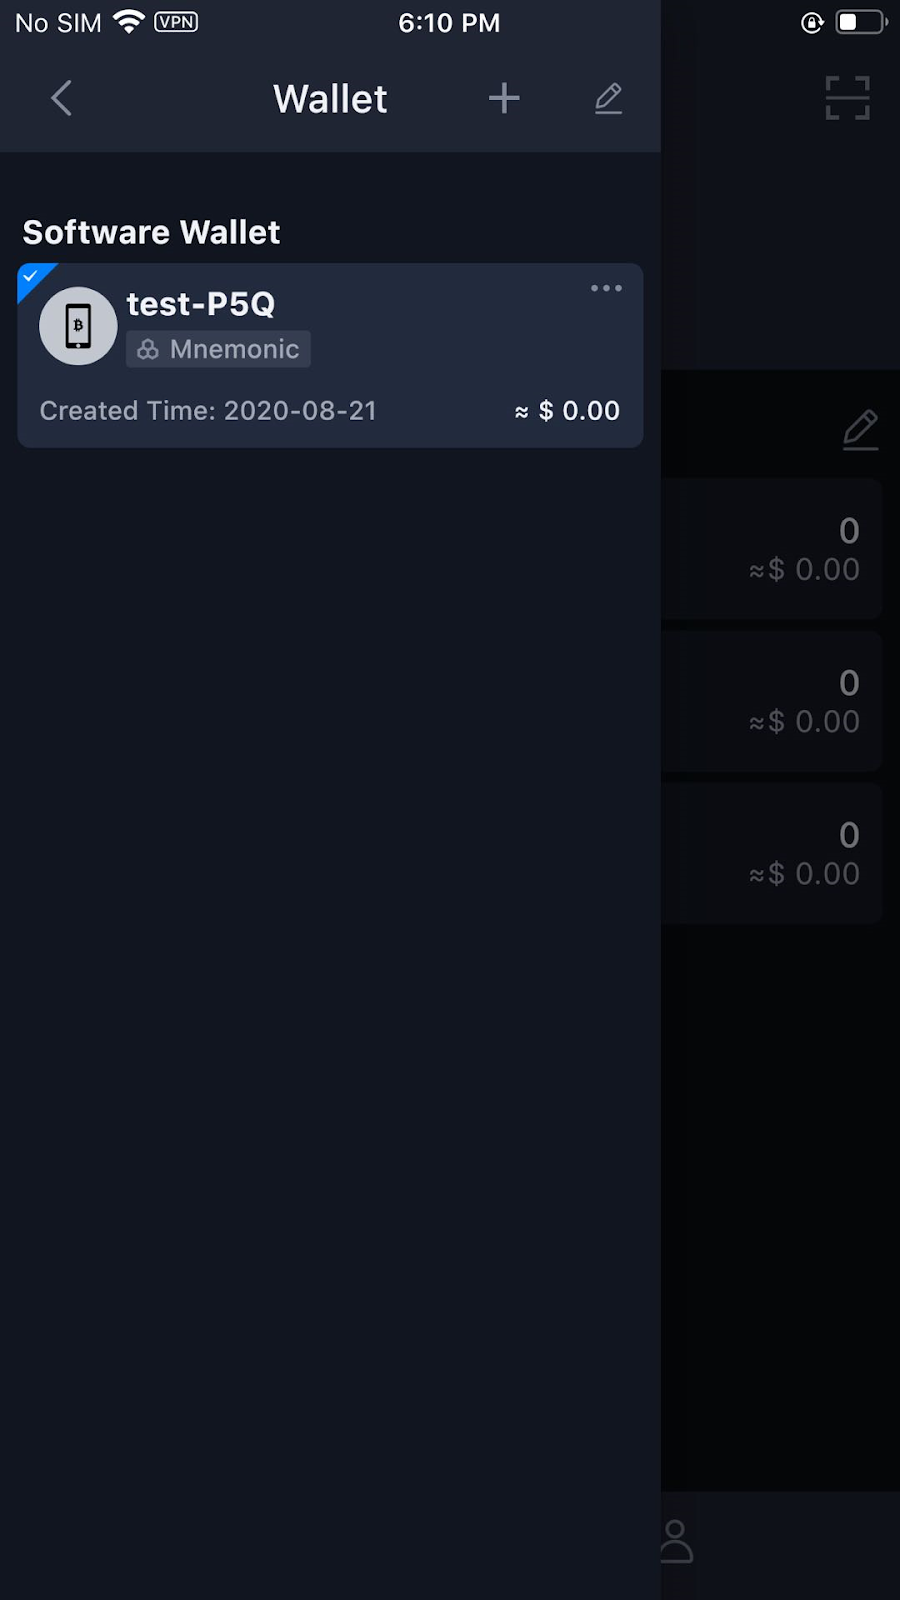
Connecting SafePal Software Wallet with Uniswap
When using your SafePal App to scan the WalletConnect QR code make sure that you have first created a wallet within the SafePal App. It should look like the below image.
After scanning the WalletConnect QR code you will be prompted with this message.
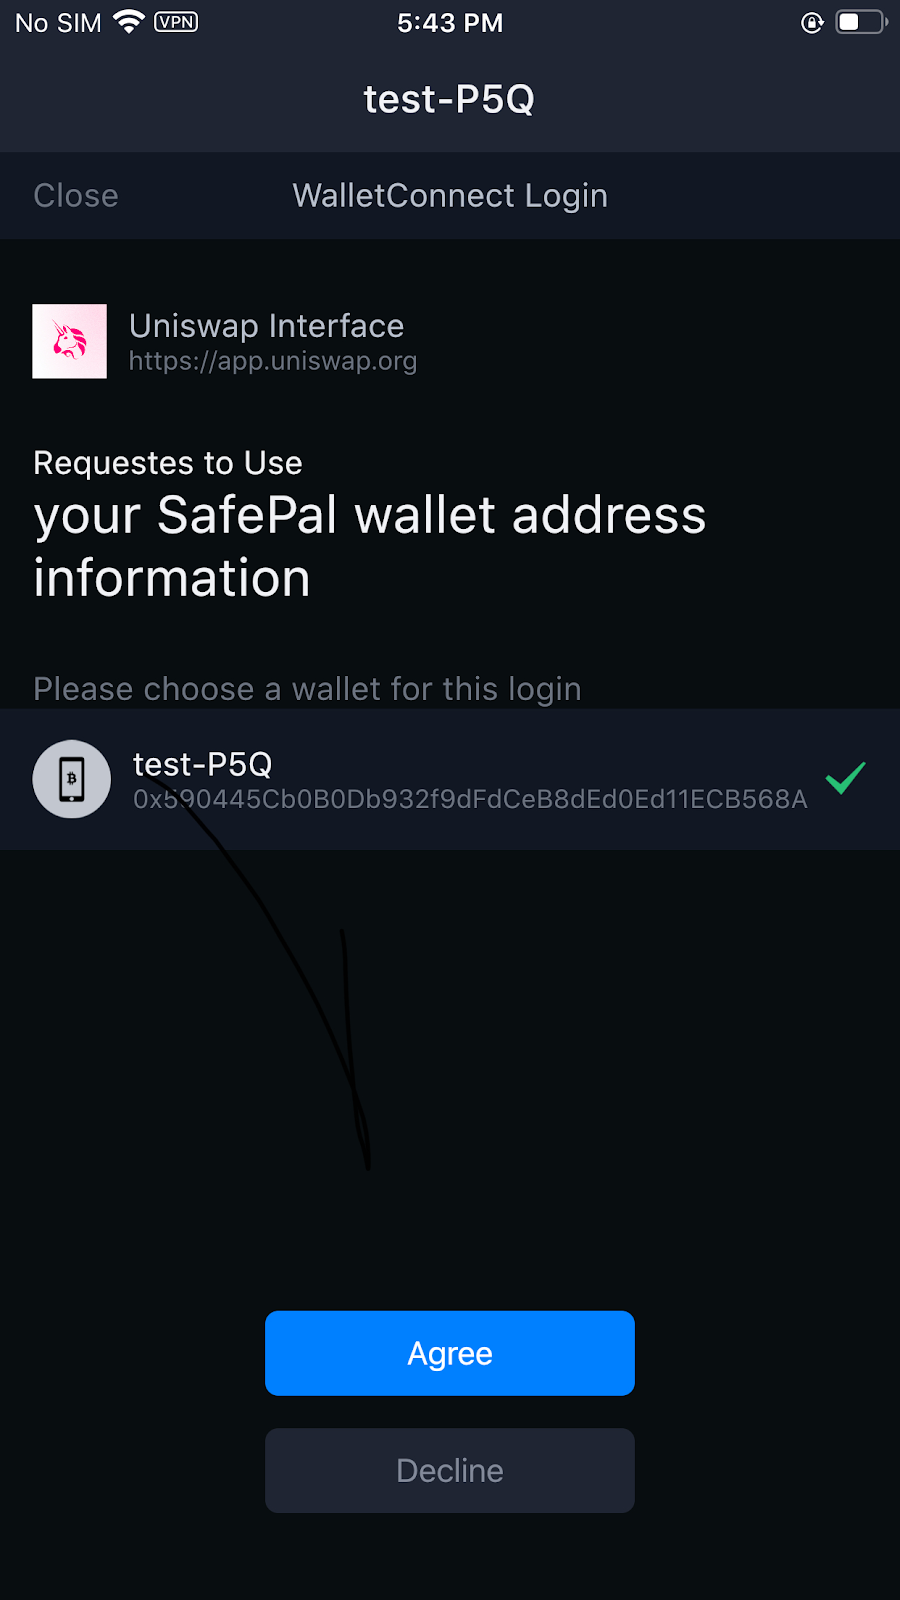
Once you Agree then your SafePal Software Wallet will have been fully connected to Uniswap and now you can begin trading however please remember this is only the software wallet. It is not the hardware wallet as many of our traders prefer to use a hardware wallet to authentic transactions. This is the safest way to secure your crypto assets and trade on Uniswap
Connecting SafePal Hardware Wallet with Uniswap
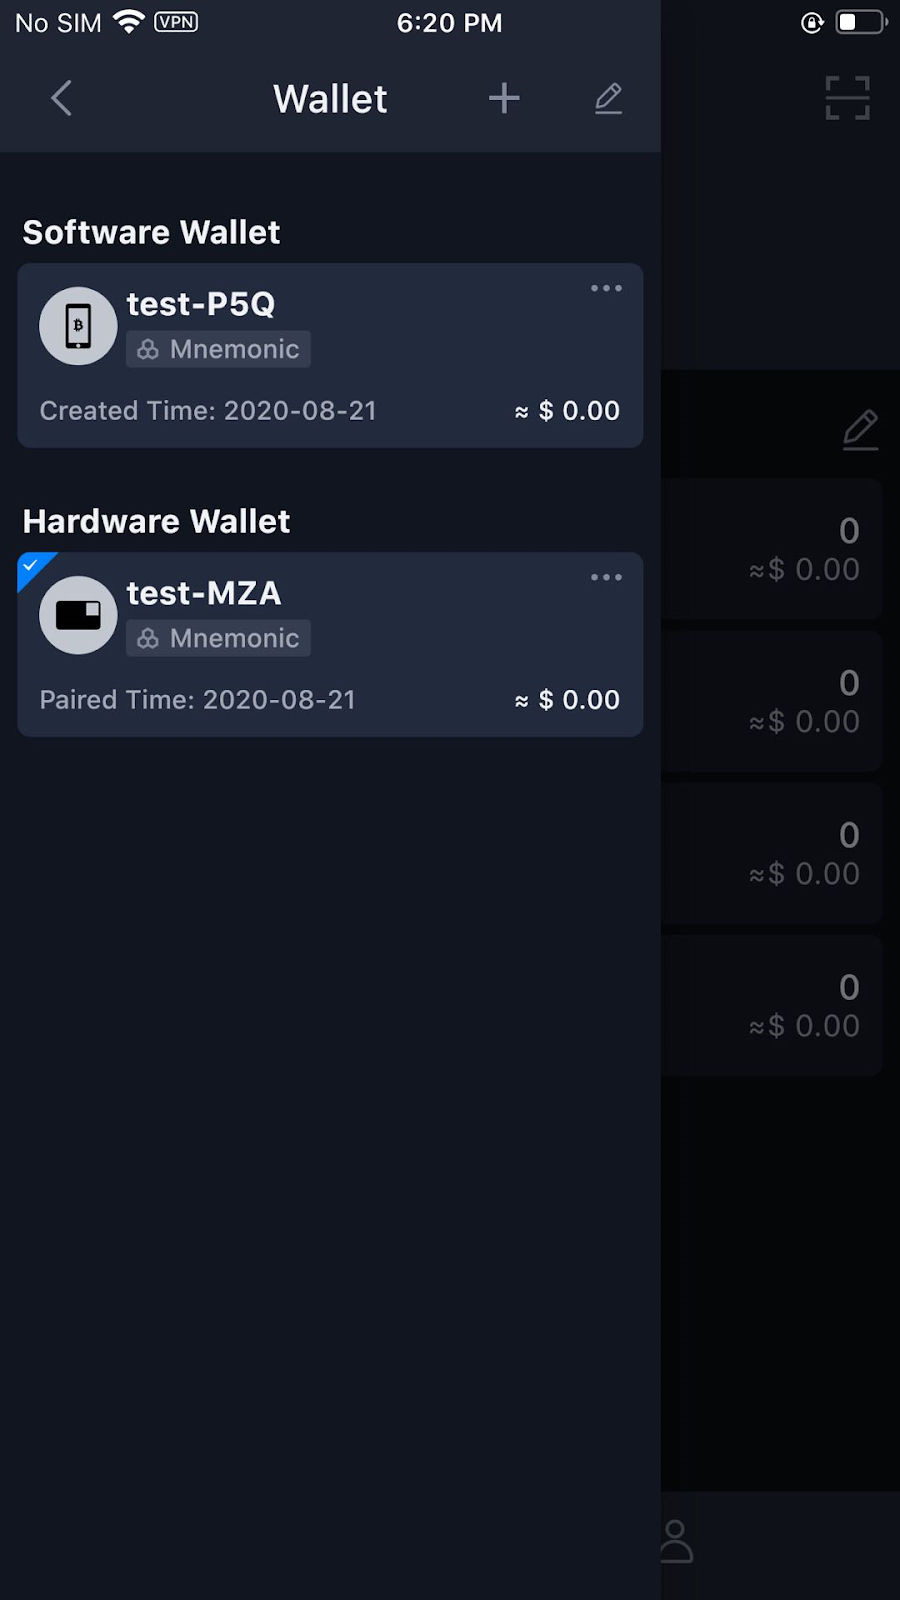
Next, we will review how to create and connect your SafePal hardware wallet with Uniswap to trade in the MOST SECURE way. Make sure that your SafePal software mobile app has paired a hardware wallet. If successfully paired, it should look like the below image.
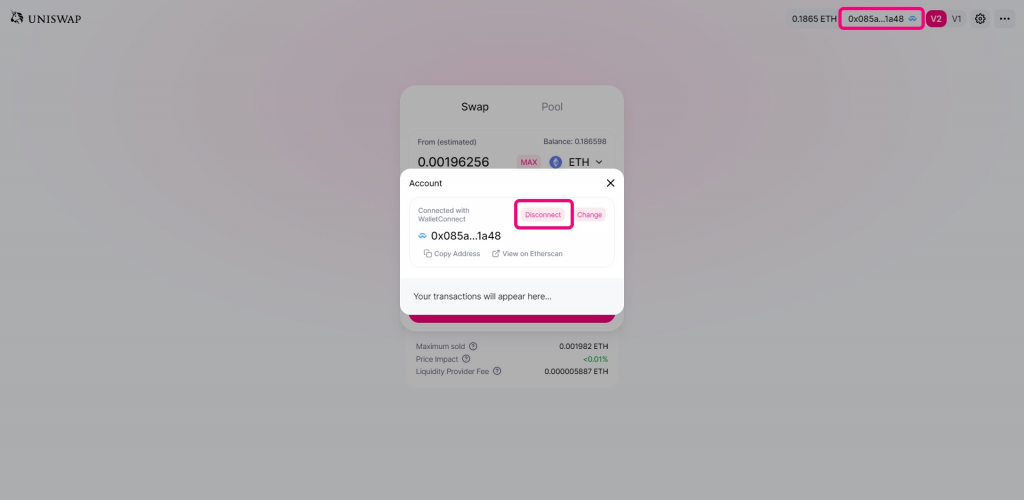
Now go back and disconnect your previously connected software wallet off of Uniswap. You can do this by clicking the top right corner of Uniswap like the image shown below. Sometimes you may not need to disconnect as Uniswap will have automatically disconnected the wallet.
When your software has been disconnected from Uniswap the Swap button will have changed back into Connect Wallet. You can now select Wallet Connect again but this time scan the WalletConnect QR Code with your SafePal Hardware Wallet. It should lead to the below image with the choice to choose which wallet to connect to Uniswap, this time select the Hardware Wallet.
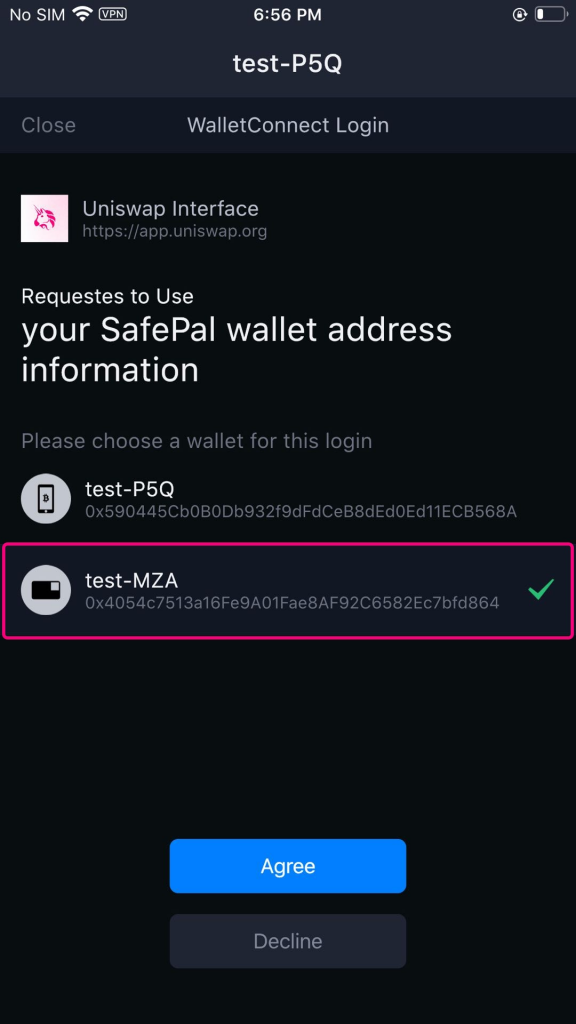
The test-MZA is the Hardware Wallet in which we have assigned to test Uniswap, once you select agree then your hardware wallet will have been connected to Uniswap. You can double-check this by matching the address of the wallet with the address in Uniswap.
For example our test-MZA Hardware wallet ETH address is 0x4054c7513a16Fe9A01Fae8AF92C6582Ec7bfd864
You can double-check to confirm by looking at the top right corner of Uniswap in which you will see that the ETH address matches that of the Hardware Wallet therefore the 2 are now fully connected. If your Hardware wallet has funds then Uniswap will automatically capture and display the amount of funds that exists on your Hardware wallet. You can now begin to use the Uniswap Swap.

Swapping with the Hardware Wallet
The final step to showcase for our new users is how to SWAP using a Hardware wallet.
The example below shows how we use one of our funded accounts to display using Uniswap to swap for 1 AMPL token. After clicking Swap and then Confirm Swap a confirmation of this transaction will be sent to your SafePal Software App requesting that you use your SafePal Hardware wallet to scan the QR code.
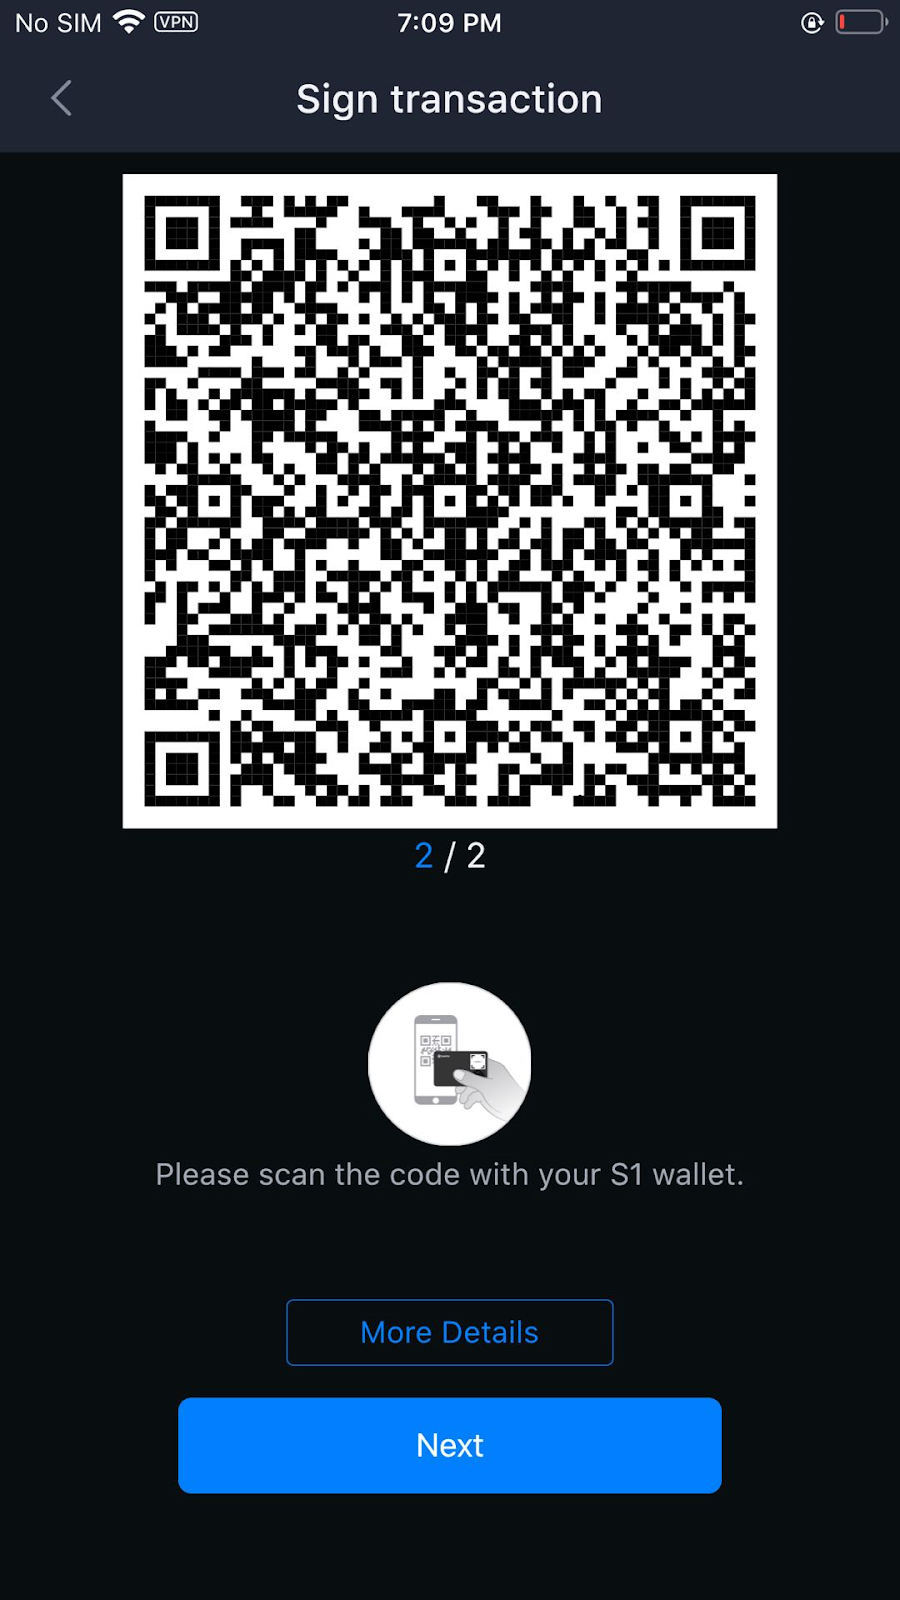
As shown in the image above you must now sign the transaction to authorize it and this transaction can only be authorized with your Safepal Hardware Wallet. After signing the transaction with your SafePal Hardware, scroll down to the bottom of the page within the Safepal Hardware Wallet using the D-pad and click ok to proceed forward. The Safepal Hardware Wallet will request that you enter your PIN to confirm this signing. Once you have entered the PIN the next step is for you to use your Safepal Software App to scan the provided QR Code on the Hardware Wallet. Upon doing so you will see the below image.
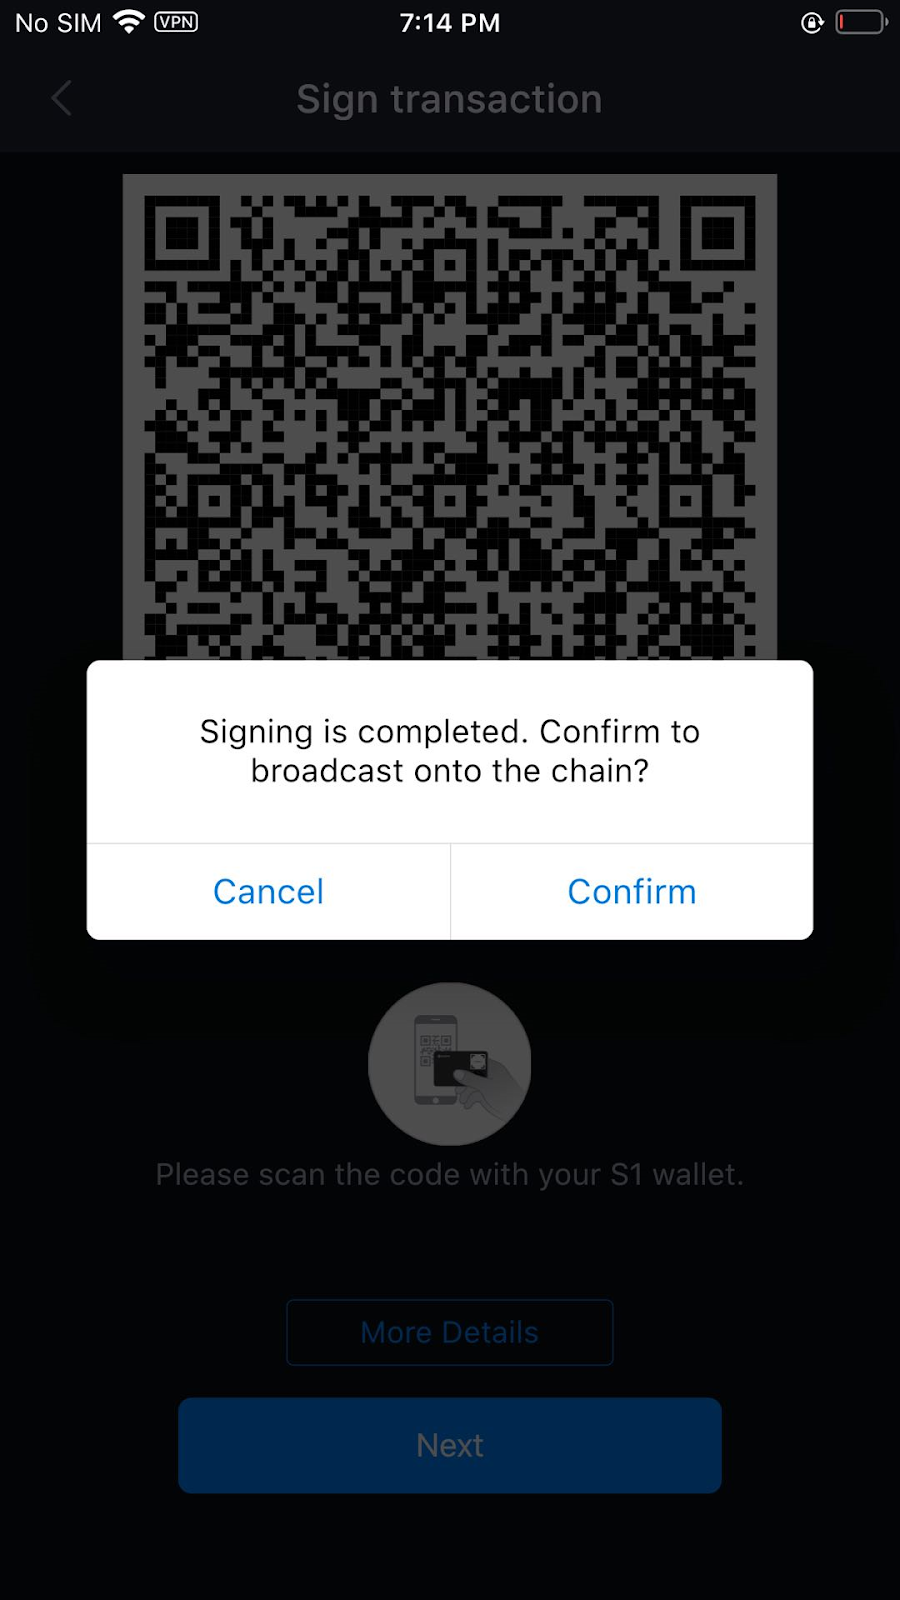
When you click Confirm then the transaction will have been fully approved and you will have begun the swap between ETH and AMPL.
This covers the introduction of using Uniswap’s Swap feature with the SafePal Software and Hardware Wallet. We will provide more tutorials in the future to help you SECURELY trade using SafePal.